
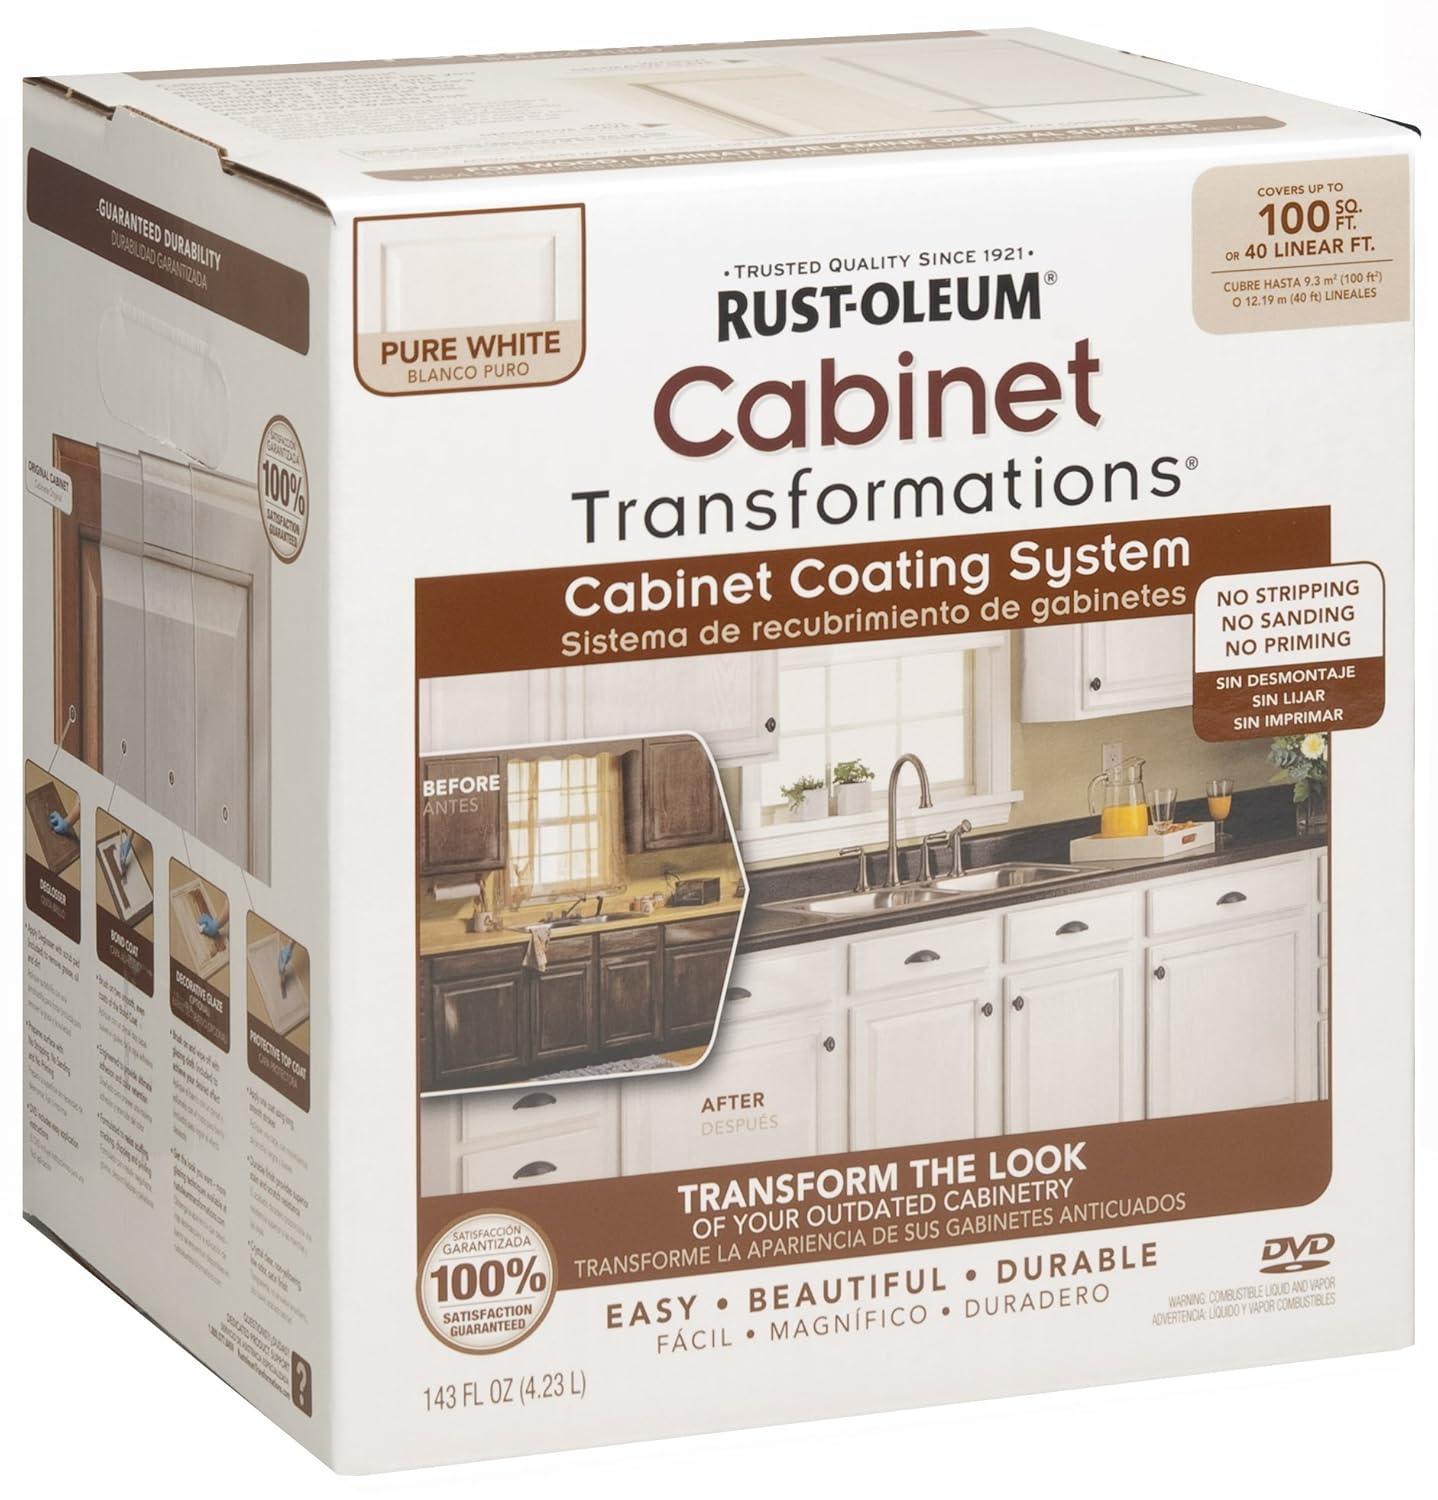
Today I will be reviewing Rust-oleum's Cabinet Transformations. This is a kit that comes in a box that allows you to easily paint your kitchen cabinets. Since my condo, which was built in the 70's, has the original cabinets still installed, our kitchen had a distinct green color. Here are some before pictures (please excuse the mess):


We have a small kitchen, so we bought the small kit, which you can get at Home Depot, Lowes or Amazon. So day 1 we took all of the cabinet doors off, washed them with soap and water, and then scrubbed them with the deglosser. In my case, the cabinets looked better already, less green. We also scrubbed the drawer fronts and the cabinets frames.
Rust-oleum has a money back guarantee on their box, and we were definitely not satisfied, so we gave them a call. Here's the kicker, and some advice for all of you: YOU HAVE TO GET THE BOND COAT TINTED AT THE STORE. We neglected to complete this step because it is only written in one small circle on the top of the box.

They also said the lid to the bond coat was supposed to let me know also.

There is an instructional DVD included that I did not watch. In the instructional pamphlet there is an asterisk next to the bond coat in the "Included in this Kit" list. So it is listed several places I suppose, but none of these places are very large and we completely missed it. Not to mention I wanted the pure white color, so I really didn't think I would have to do anything to it.
Rust-oleum was nice enough (after a very firm talking to by my husband) to issue us a refund. We debated on how to proceed with our streaky cabinets. After talking to a very knowledgeable paint guy at Home Depot, we decided the best course of action was to just buy another kit and have it tinted this time. Since the bond coat is sort of like a stain and not a paint, it sounded like it would be more trouble to switch methods at this point.
So we went home and painted the tinted bond coat over our cabinets. They still needed 2 coats and then some in some places. But they looked so much better now!
The next step is optional: the decorative glaze. You paint this glaze on and then wipe off with the provided clothes to achieve the look you want. We tried this step with the emblem beneath our sink that we wanted to accent. This is how it looked:


The final step is the protective top coat. This is just a clear coat that protects your cabinets. We applied it to our cabinet backs first, like the instructions said. Apparently I used a little too much, because some dripped down to the front of the cabinets and turned yellow. If you try to pick it off, you rip the bond coat off too, so I haven't touched most of it. I think I will have to sand it and repaint.

I don't know what happened on the back either, but some of the cabinets have brown spots.


Rust-oleum did not pay me to review this product